How to Get a Professional Email Address (Using Your Own Domain)
Discover how to get hello@yourdomain.com for free using Zoho or Cloudflare. Boost your credibility today.
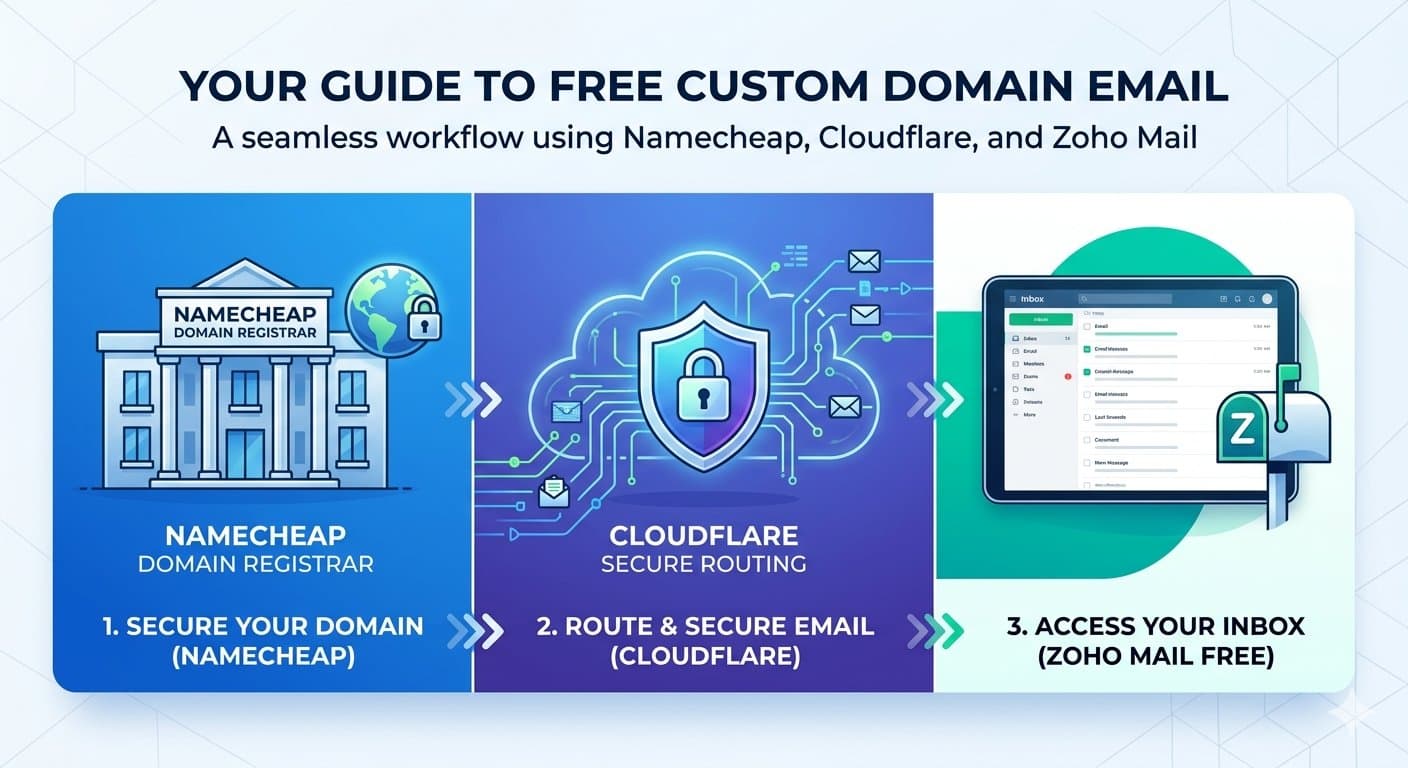
A step-by-step guide to setting up a custom email like hello@yourdomain.com — without paying for Google Workspace or Microsoft 365.
If you've ever received an email from a gmail.com or yahoo.com address and wondered whether the sender was a real business, you already understand why a professional email matters. Something as simple as switching from johndoe@gmail.com to john@johndoe.com signals credibility, builds trust, and makes you look serious about what you do.
The good news? You don't need to spend a dime on a monthly subscription. There are two completely independent ways to get a free professional email on your own domain. The first uses Cloudflare Email Routing. The second uses Zoho Mail. Pick whichever suits your needs — you don't need both.
But first, both methods require one thing: a domain name.
Step 1: Register Your Domain on Namecheap
Everything starts with owning a domain. If you already have one, skip ahead to your chosen method.
Head to Namecheap and search for your desired domain name.
Complete the checkout process. Most
.comdomains cost around $10–15 per year.Once purchased, go to your Dashboard, find your domain, and click Manage. Keep this tab open — you'll need it shortly.
Tip: Choose a domain that's short, easy to spell, and directly tied to your name or business. Avoid hyphens and numbers where possible.
Method 1: Zoho Mail (A Fully Dedicated Professional Inbox)
This method is ideal if you want a clean, standalone inbox that lives entirely under your domain — with no forwarding involved. Zoho Mail offers a Forever Free plan for up to five users with 5GB of storage each. No credit card required.
Step 1: Sign up for Zoho Mail
Go to the Zoho Mail pricing page, scroll down to the Forever Free Plan, and select Sign up with a domain you already own.
Step 2: Point your domain's DNS to Zoho
Zoho will walk you through adding several DNS records to your domain. Log in to your Namecheap account and navigate to Manage Domain → Advanced DNS to add each one.
Verify domain ownership (TXT record)
Zoho will give you a TXT record to prove you own the domain. Add it in Namecheap's Advanced DNS:
Type: TXT
Host: @
Value: (the value Zoho provides)
Update MX records (so mail reaches Zoho)
Delete any existing MX records, then add the three Zoho records:
Type Host Value Priority MX @ mx.zoho.com 10 MX @ mx2.zoho.com 20 MX @ mx3.zoho.com 50
Add SPF and DKIM records (to avoid spam filters)
Zoho provides these during setup. Add them as TXT records in Namecheap DNS exactly as shown. These records authenticate your emails and ensure they land in inboxes, not junk folders.
Step 3: Create your email address and start sending
Once Zoho confirms your DNS records are active, create your professional address inside the Zoho dashboard. You can access your inbox at mail.zoho.com or through Zoho's mobile app — and send mail directly from your custom domain with no extra configuration needed.
Method 2 : Cloudflare Email Routing (Forward to an Existing Inbox)
This method is ideal if you already have a Gmail or Outlook inbox you're happy with. Cloudflare lets you create a professional-looking address that silently forwards all incoming mail to your personal inbox — for free, with no limits on the number of addresses you can create.
Step 1: Connect your domain to Cloudflare
Create a free account at Cloudflare.
Click Add a Site and enter your domain name.
Cloudflare will provide you with two custom nameservers.
Go back to Namecheap → Manage Domain → Nameservers, select Custom DNS, paste in the Cloudflare nameservers, and save.
DNS propagation usually takes a few minutes but can take up to 24 hours. Cloudflare will email you once your domain is live.
Step 2: Enable Email Routing
In the Cloudflare dashboard, select your domain and go to Email → Email Routing.
Click Enable Email Routing and follow the setup wizard.
Under Destination Addresses, add your personal email (e.g.,
you@gmail.com) and verify it via the link Cloudflare sends you.Under Custom Addresses, create your professional address — for example,
hello@yourdomain.com— and set it to forward to your verified personal email.
That's it. Any email sent to your professional address will arrive in your existing inbox instantly.
Limitation to know
Cloudflare Email Routing only handles incoming mail. If you want to send emails from your custom address, you'll need to configure Gmail's SMTP settings separately. Search "send mail as Gmail custom domain" for a quick walkthrough — it takes about 2-7 minutes.
Which Method Should You Choose?
Cloudflare Email Routing, Zoho Mail Free Plan What it does Forwards mail to your existing inbox Gives you a fully dedicated inbox Best for People who want simplicity People who want a separate professional inbox Sending mail Requires extra Gmail SMTP setup Works out of the box Storage Uses your Gmail/Outlook storage 5GB per user Number of addresses Unlimited Up to 5 users Ease of setup Very easy Moderate Cost Free Free
⚠️ FOR PROFFESIONAL USAGE ZOHO/GOOGLE WORKSPACE IS THE BEST OPTION